Overview
Your Box Migration Dashboard displays a list of flagged items that did not successfully copy from Box to SharePoint. If your dashboard displays the following message in the Error column, then it means the folder listed on that row did not copy to SharePoint because it contained more than 10,000 individual items:
- The path exceeds the maximum number of 10,000 children
If you do not need the folder and its contents, no action is needed. If you do wish to copy the folder to SharePoint, please select one of the options below and complete the steps.
Detail
Option 1: Zip and Move the Folder from pitt.box.com
This option is the simplest way to manually move your flagged folder(s) from Box to SharePoint.
1. Log in to your Box Migration Dashboard and identify the folders with more than 10,000 items that did not copy to SharePoint.
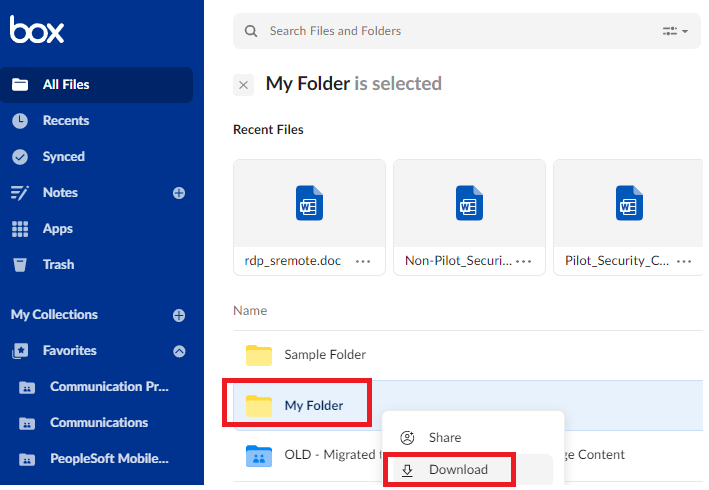
2. Log in to pitt.box.com and navigate to the folder(s) you wish to zip and move to SharePoint.
3. Right-click the folder and select Download. The download process should automatically zip the folder.
- Tip: If an error displays indicating that the folder is too large to download, try opening the parent folder in Box and downloading each individual sub-folder.
4. Navigate to the zipped folder that has been downloaded. In the Chrome browser, it displays in the lower left-hand corner of your browser window (see below). Click the arrow next to the folder, and select Show in folder.
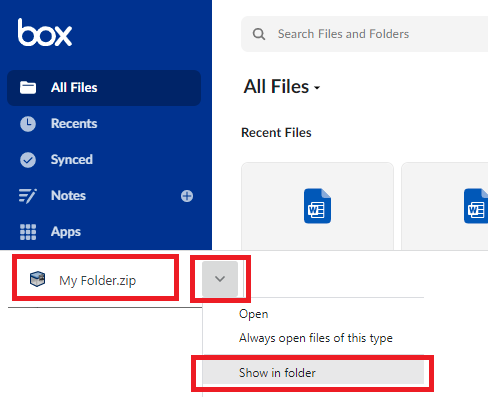
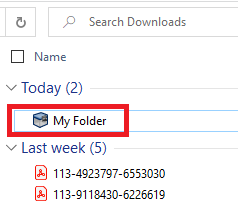
5. Your Downloads folder opens and displays the zipped folder.
You now have two options:
- Upload the zipped folder to SharePoint: The fastest and simplest option is to drag the zipped folder into SharePoint to upload it, as described in step 6. This is ideal if you just need to archive the folder. However, keep in mind that you cannot open the zipped folder within SharePoint and view its contents. You would need to download it from SharePoint first. If you need to regularly open the folder in SharePoint and work with its contents, first extract its contents as described in the next bullet point.
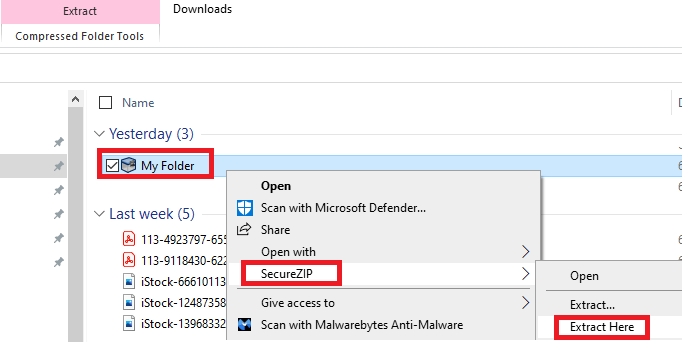
- Extract the zipped folder's contents, and upload the sub-folders and files to SharePoint: If you want to be able to open the folder and view its contents within SharePoint, then extract the folder's contents on your computer before uploading them to SharePoint. To do so with SecureZip (available via the Software Download Service), right-click the zipped folder in Downloads, select SecureZip, then select Extract Here. The extracted folder(s) will display in your Downloads folder. Proceed to step 6.
6. Open Microsoft SharePoint in a separate browser and log in with your Pitt credentials. Drag the zipped folder (or the extracted folders and files) from your Downloads folder to your SharePoint web interface. SharePoint will display a message indicating it has been uploaded successfully.
Option 2: Zip and Move the Folder with Box Drive
Note: This option is only necessary if the folder you are trying to move from Box to SharePoint is too large to download using option 1 above.
1. Log in to your Box Migration Dashboard and identify the folders with more than 10,000 items that did not copy to SharePoint.
2. Use SecureZip to zip the folder within Box Drive using the steps below.
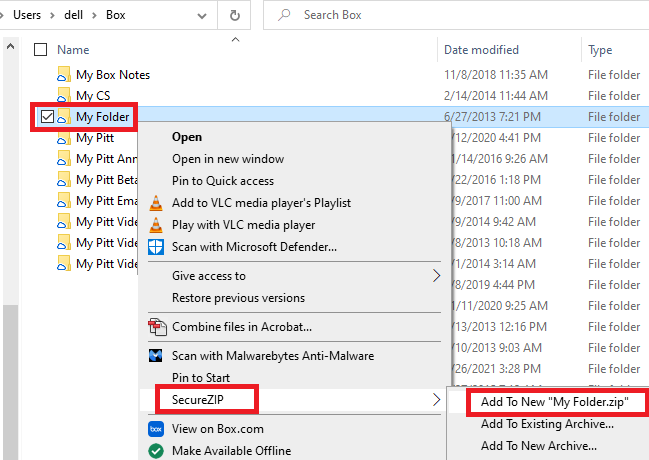
3. Within Box Drive, select the folder you wish to download, right-click and select SecureZIP, then click Add to New Foldername.zip.
4. Enter and confirm a passphrase for your zipped folder, then click OK.
5. Your zipped folder will display in Box Drive below your list of folders. Drag the zipped folder to your desktop or another location on your computer.

You now have two options:
- Upload the zipped folder to SharePoint: The fastest and simplest option is to drag the zipped folder into SharePoint to upload it, as described in step 6. This is ideal if you just need to archive the folder. However, keep in mind that you cannot open the zipped folder within SharePoint and view its contents. You would need to download it from SharePoint first. If you need to regularly open the folder in SharePoint and work with its contents, first extract its contents as described in the next bullet point.
- Extract the zipped folder's contents, and upload the sub-folders and files to SharePoint: If you want to be able to open the folder and view its contents within SharePoint, then extract the folder's contents on your computer before uploading them to SharePoint. To do so with SecureZip, right-click the zipped folder, select SecureZip, then select Extract Here. The extracted folder(s) will display in the same location as the zipped folder. Proceed to step 6.
6. Open Microsoft SharePoint in a separate browser and log in with your Pitt credentials. Drag the zipped folder (or the extracted folders and files) from your computer to your SharePoint web interface. SharePoint will display a message indicating it has been uploaded successfully.