Overview
This article describes how to enroll a business account in Pitt Password Manager (LastPass).
Detail
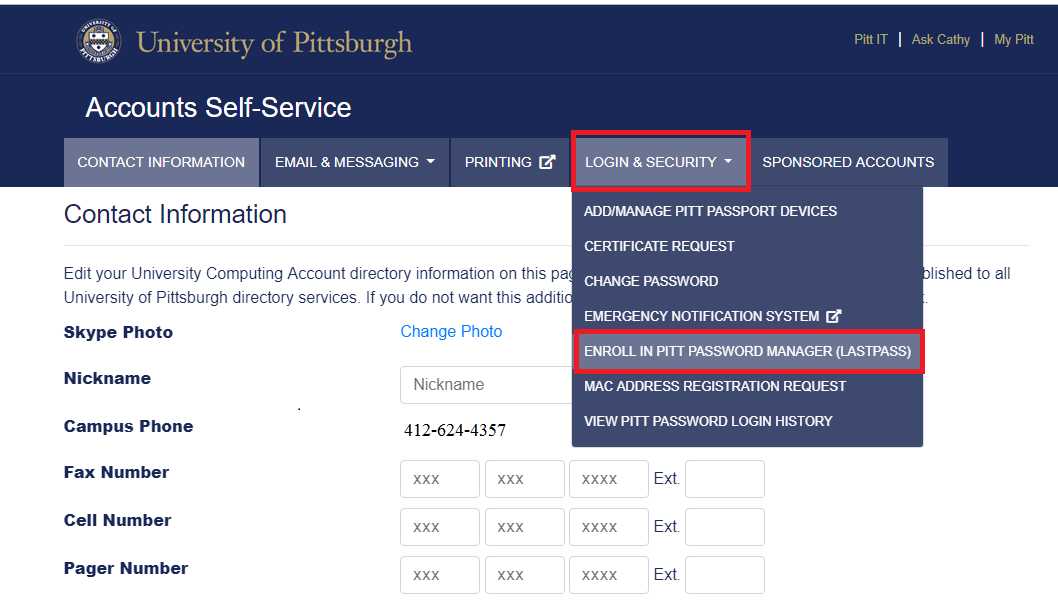
1. Log in to accounts.pitt.edu, click Login & Security, and click Enroll in Pitt Password Manager (LastPass).
Note: You will not see these options if already enrolled in LastPass.
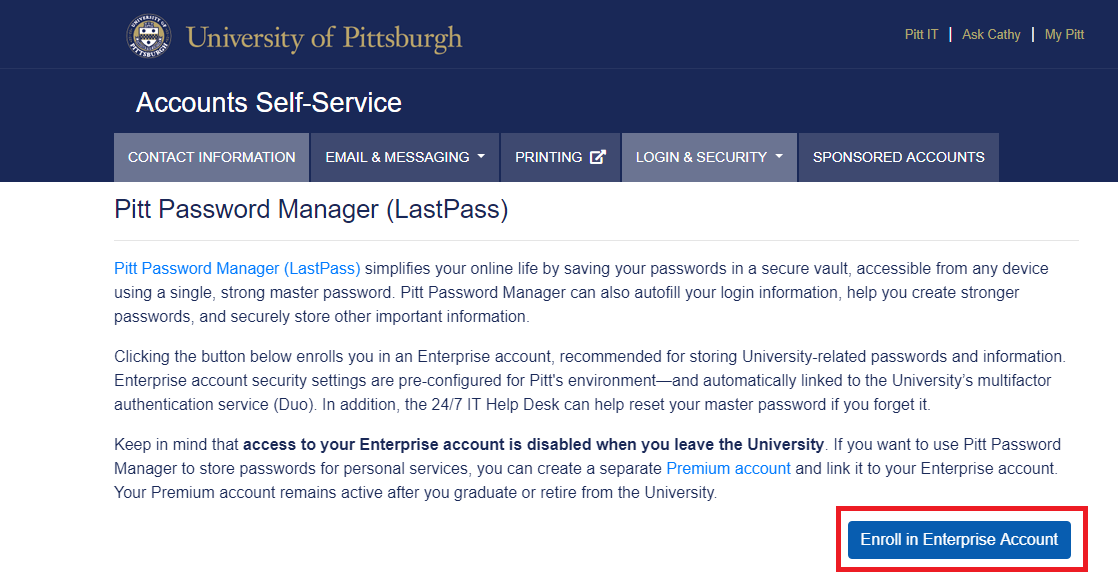
2. Click the Enroll in Enterprise Account button.
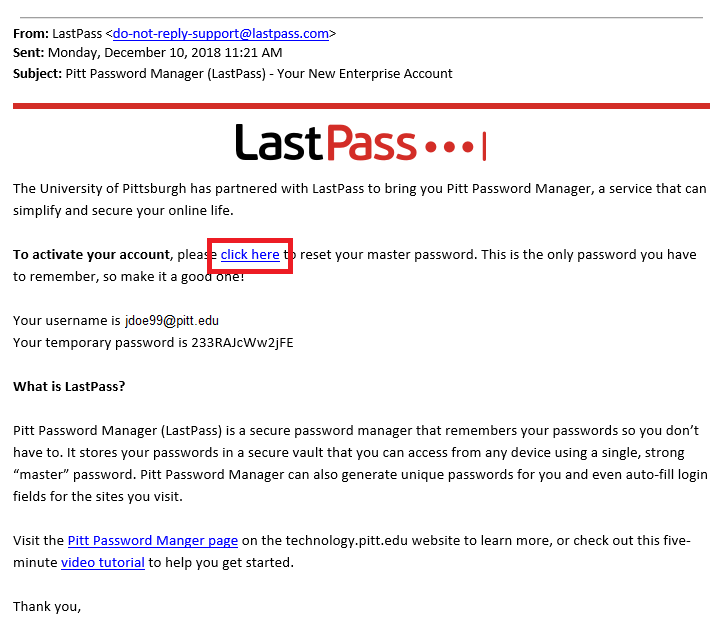
3. A confirmation email will be sent to your Pitt email address.
4. Open the email message from your University inbox. Click the link to reset your master password.
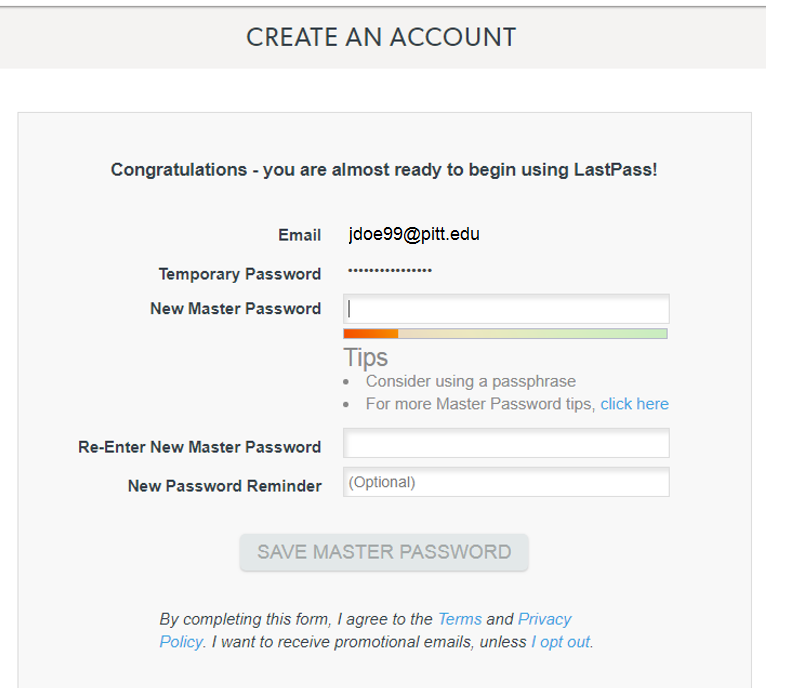
5. The Create an Account screen displays. Your University email address and temporary password are pre-populated in the appropriate fields. Choose a master password and re-enter it in the Confirmation field. When you are ready, click Save Master Password.
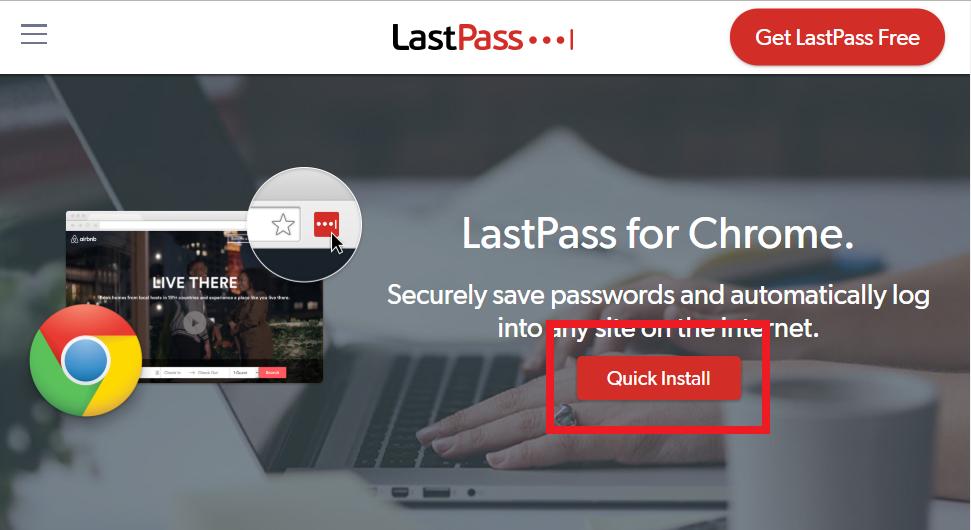
6. You may be prompted to install the LastPass extension for your web browser. Click Download next to your preferred browser. We recommend using the Quick Install link at the top of the page.
Note: If you use Safari, Apple requires you to download and install a Mac App to get the extension. Learn more...
Note: If you do not receive the prompt and already have the LastPass extension installed, proceed to step 9.
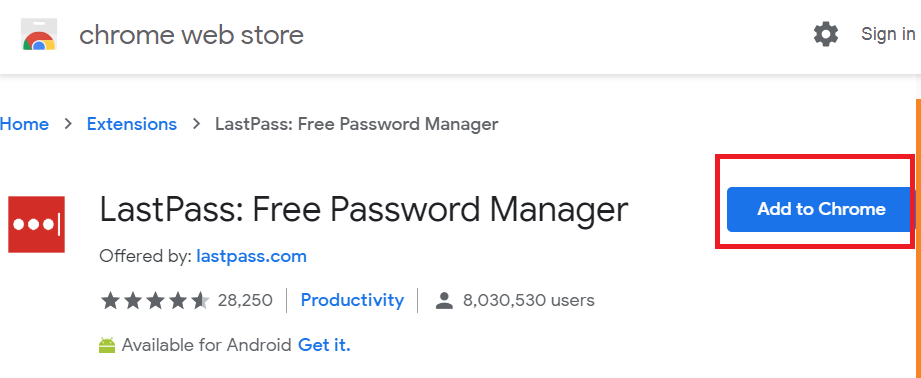
7. Click the button to add the extension to your web browser.
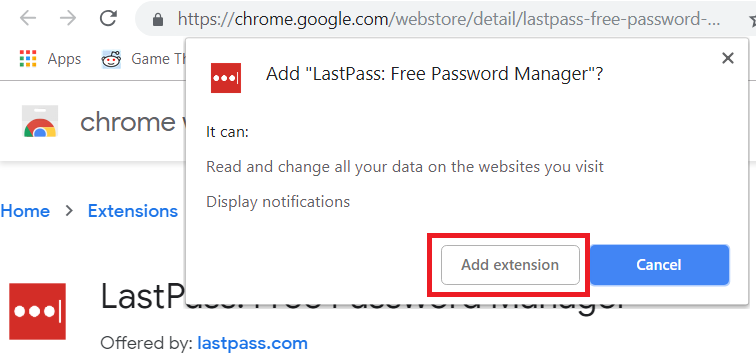
8. Confirm the installation if prompted to do so.
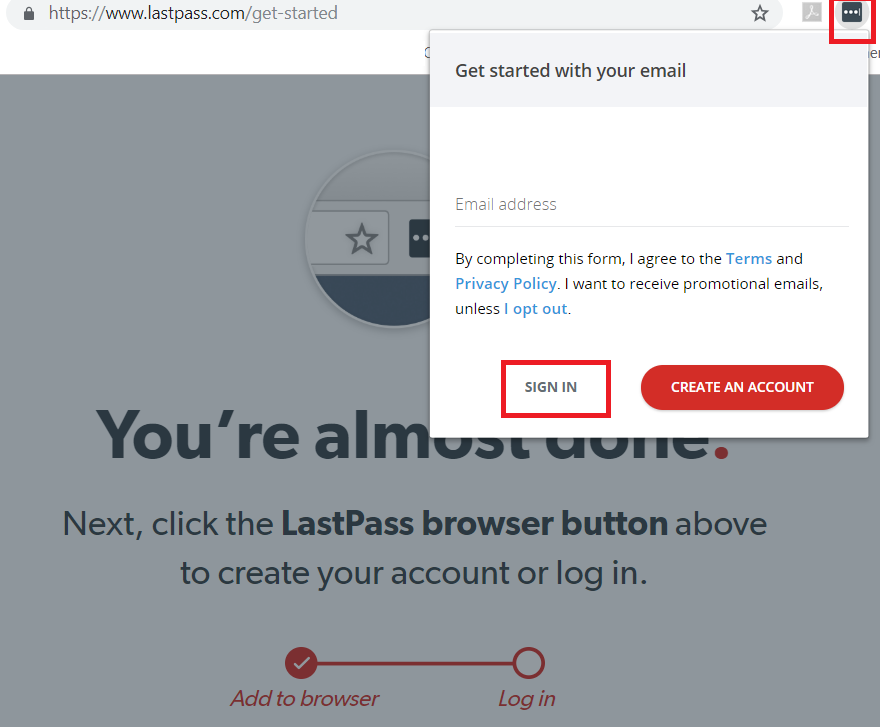
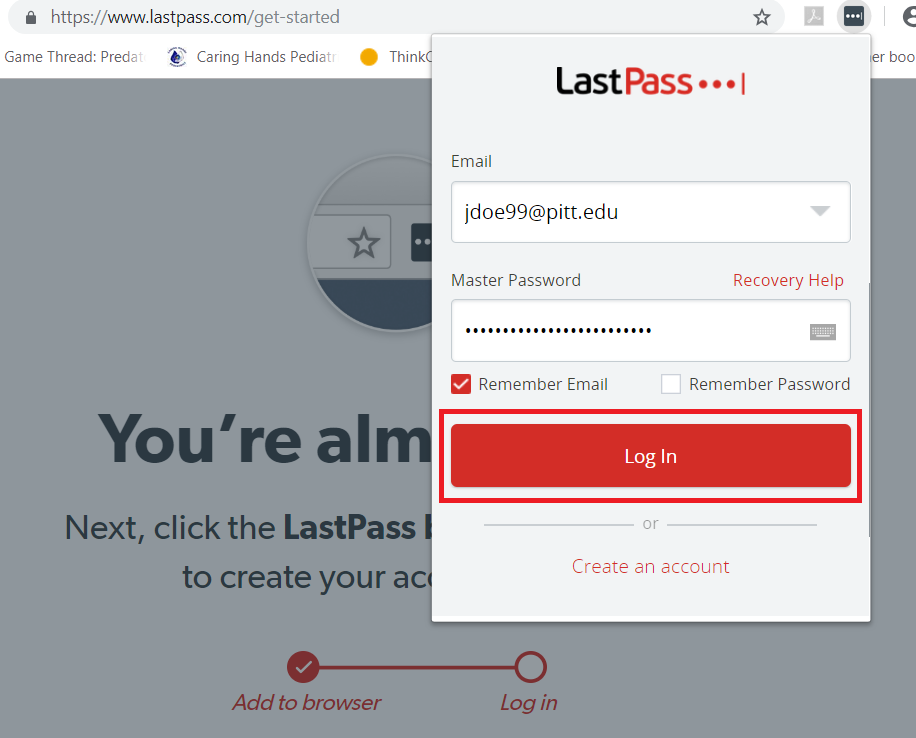
9. Click the LastPass icon that now displays in the top right-hand corner of your web browser. If a pop-up window displays offering you the option to Sign In or Create an Account, click Sign In.
10. Enter your University email address in the Email field, your master password in the Master Password field, and click Log In.
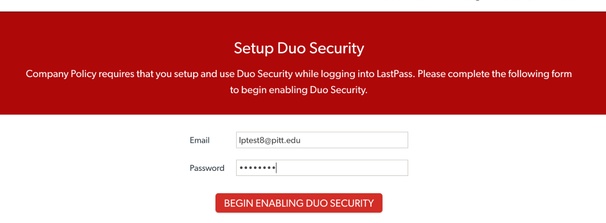
11. You'll be prompted to set up Duo multifactor authentication. Enter your University email address and master password, then click Begin Enabling Duo Security.
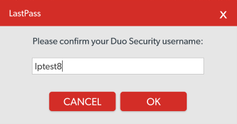
12. Enter your University Computing Account username and click OK.
13. The Multifactor Has Been Enabled screen displays. Click download our extension here.

14. Click the LastPass icon in your browser again. Enter your University email address and master password, then click Log In.
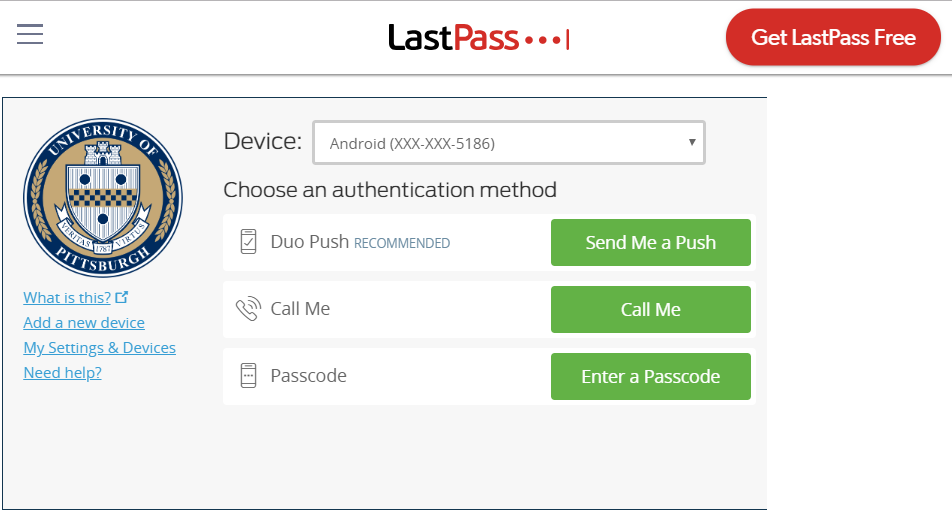
15. Authenticate using the University's multifactor authentication service (Duo).
16. You may be prompted to import any passwords that are saved in your web browser. We recommend you import these passwords.
17. You may also be prompted to save your first password. You may skip this step, if you like.
18. The You're all set! pop-up window displays. Click Let's Go.
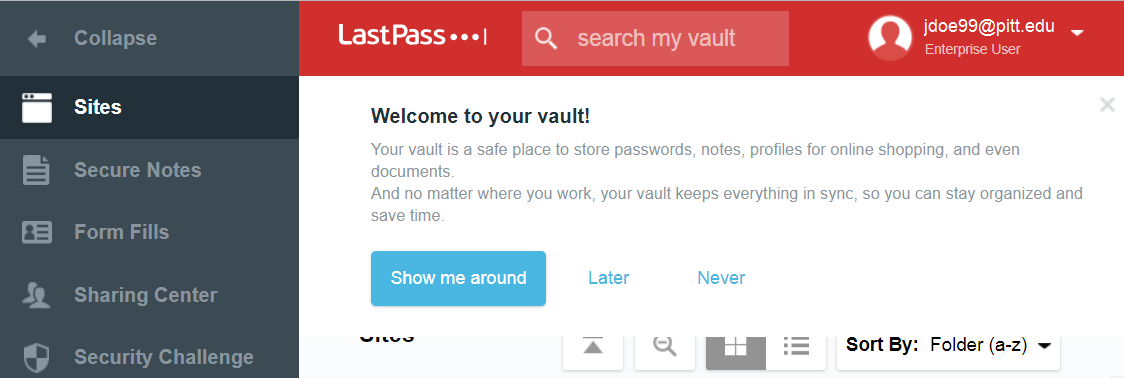
19. Your Pitt Password Manager vault opens. Your University email address will appear in the upper right-hand corner under the label Enterprise User.
Related Information
Next steps
-
Don't forget to disable your browser's built-in password manager. This helps avoid the confusion that can arise when both Pitt Password Manager and your browser ask you to save a password. In addition, LastPass is a much more secure method of storing passwords than your web browser.
-
Make sure to set up SMS recovery on your account. This allows you to recover your Pitt Password Manager master password if you ever forget it.
-
Review the help resources on our webpage to get started using Pitt Password Manager.